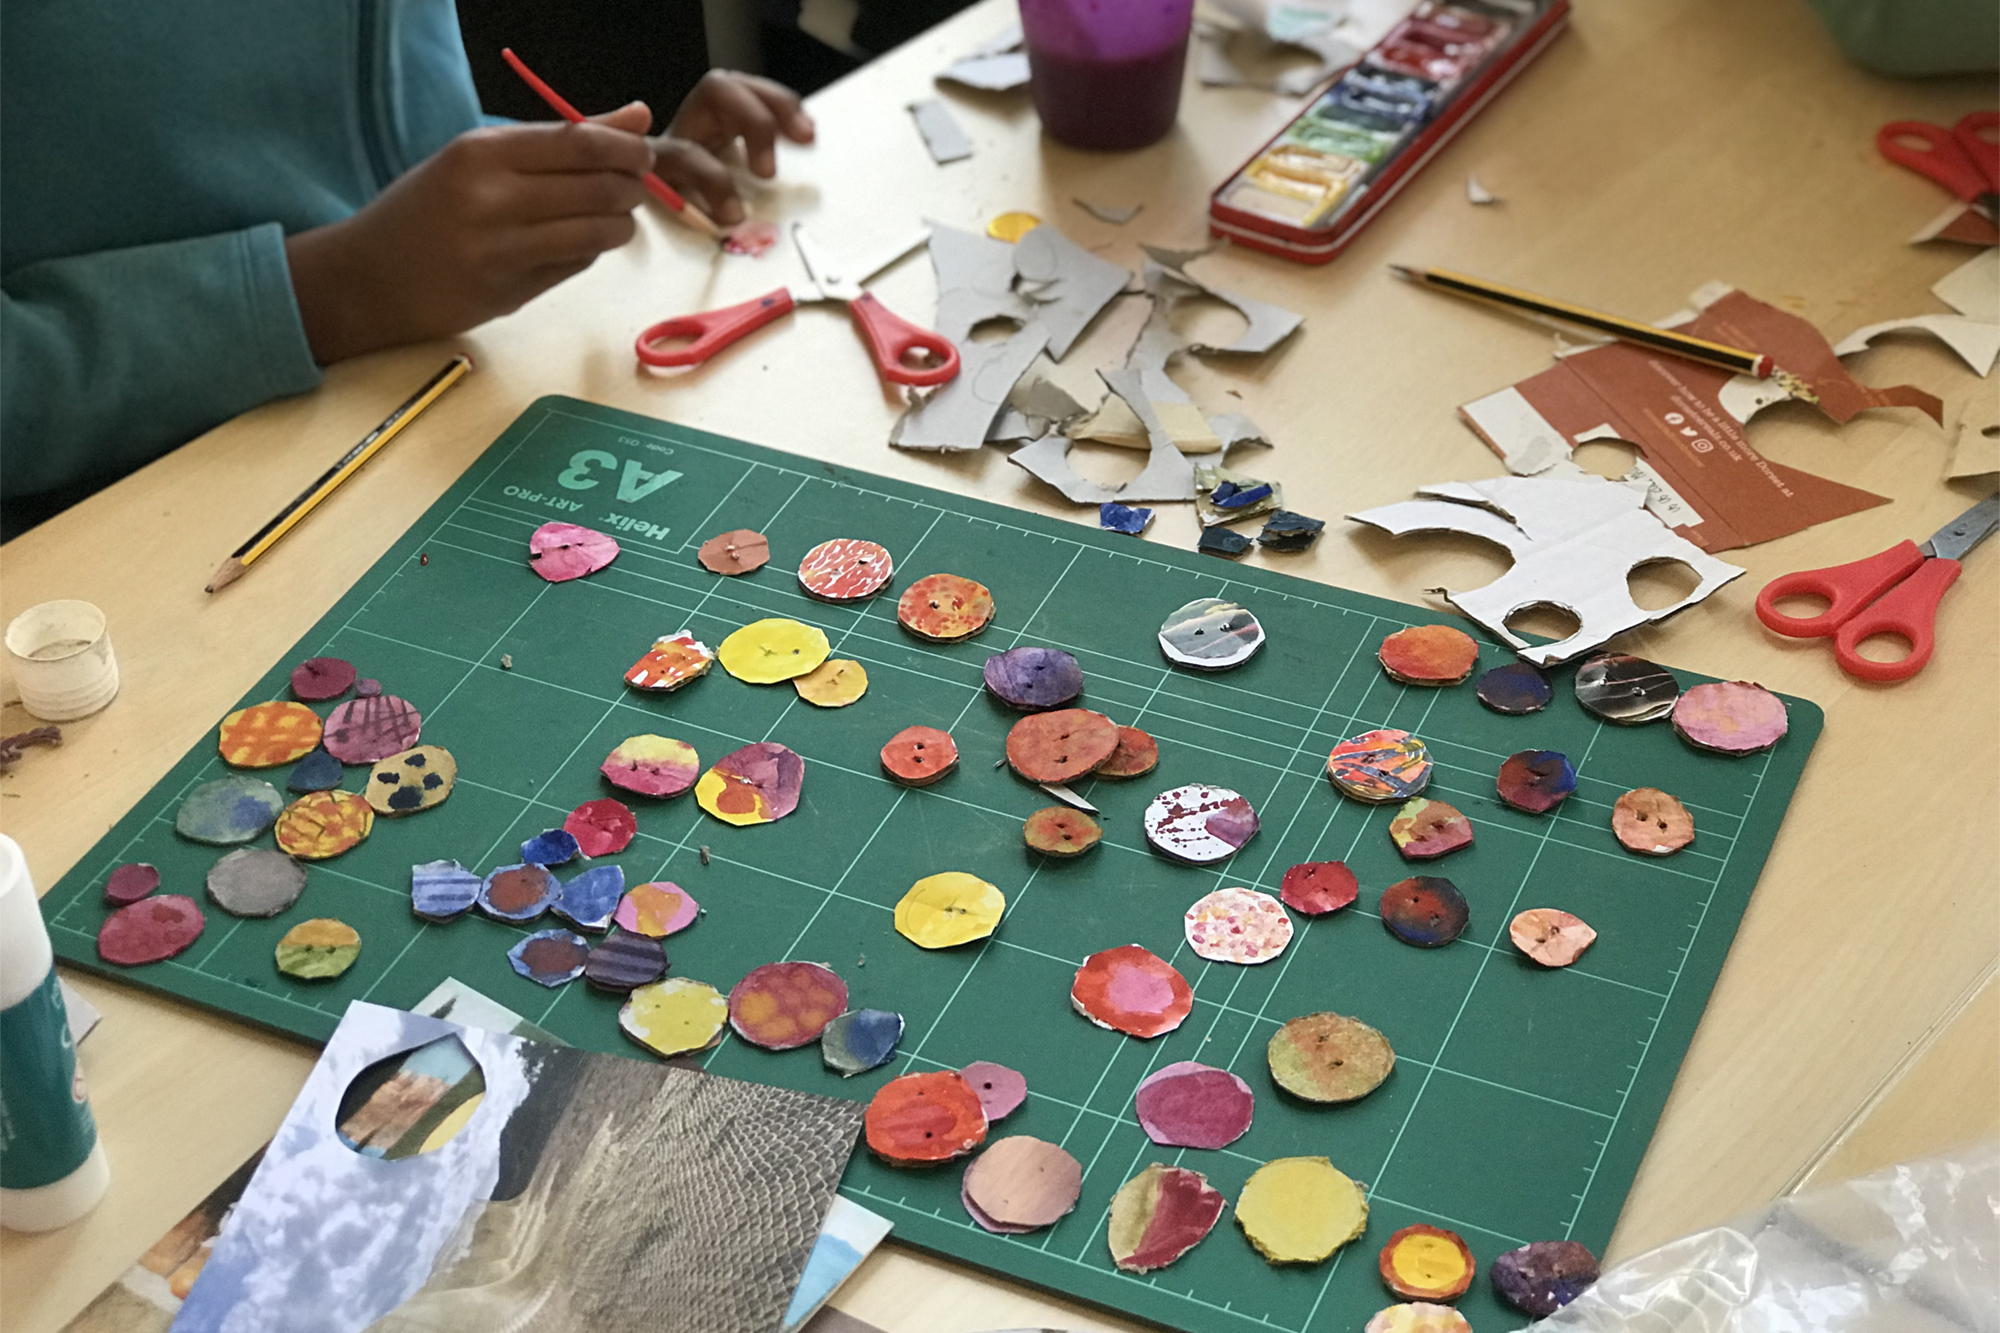
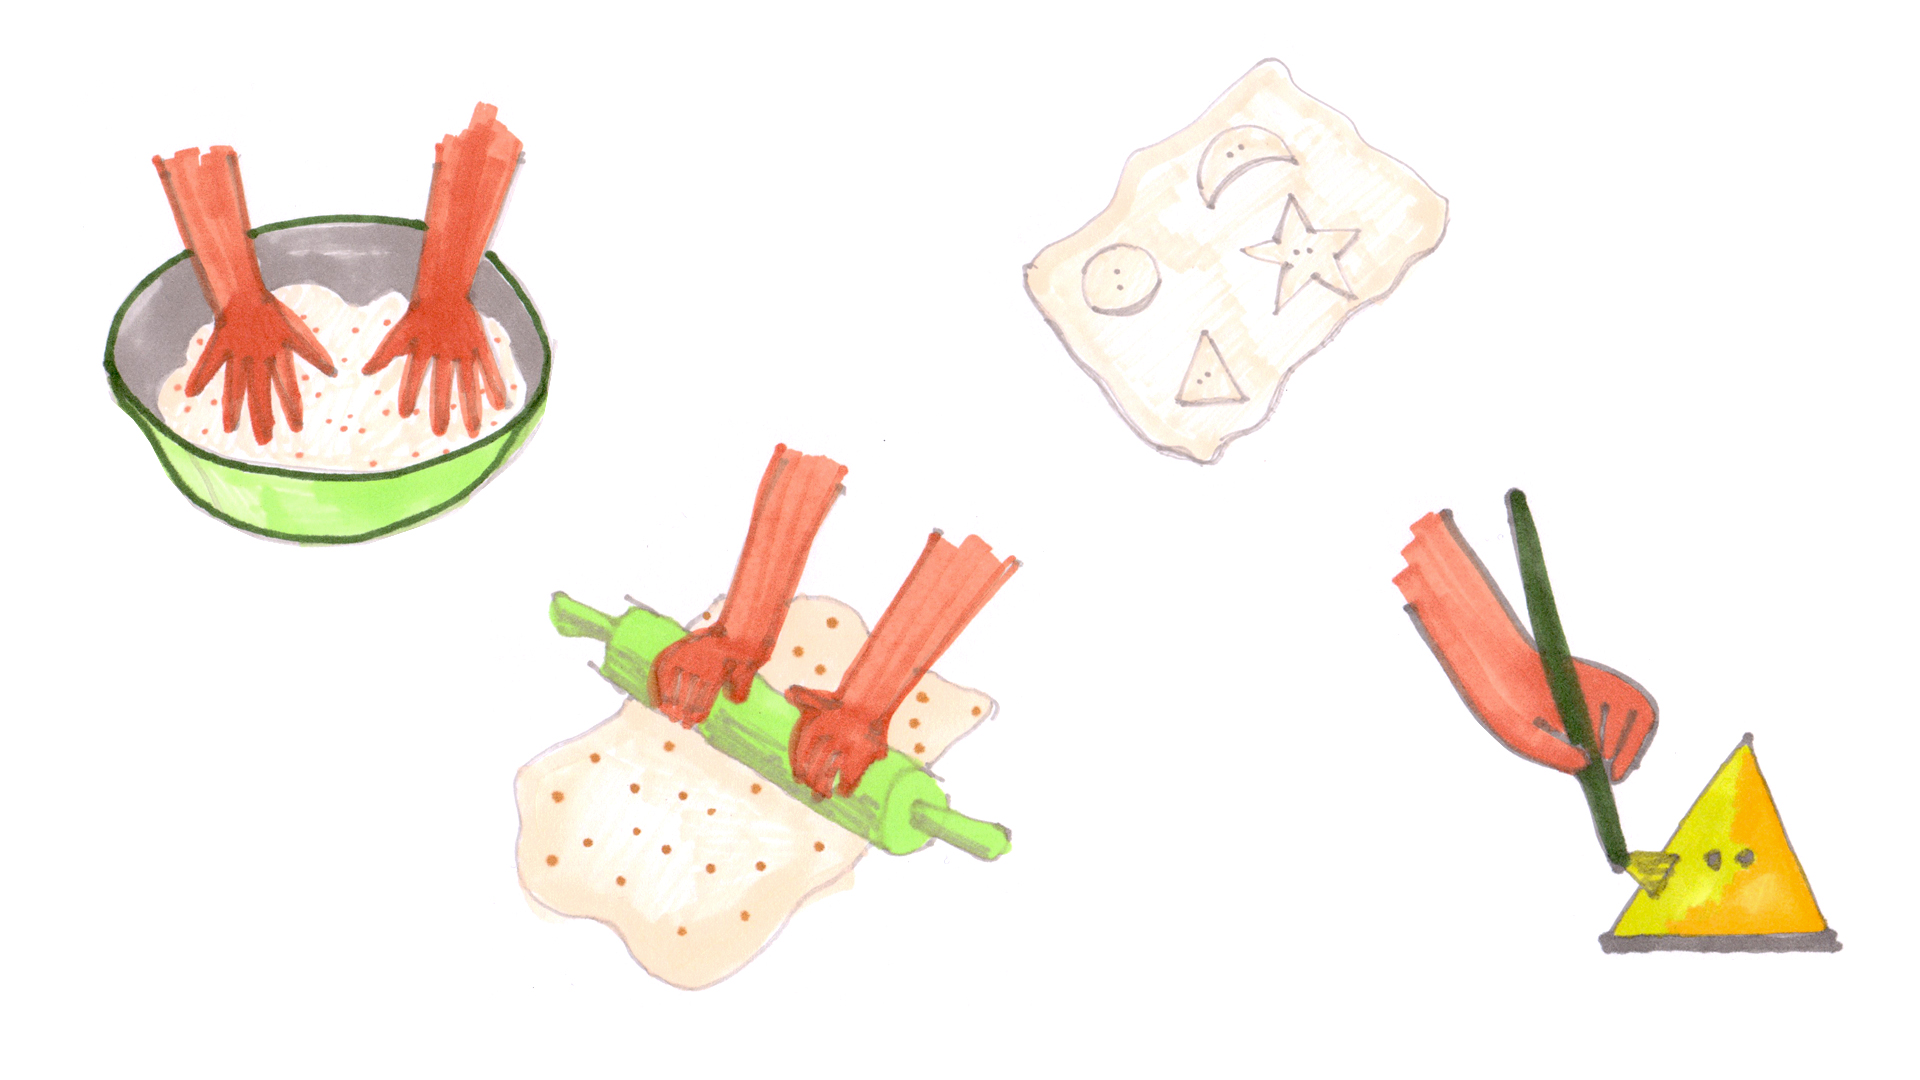
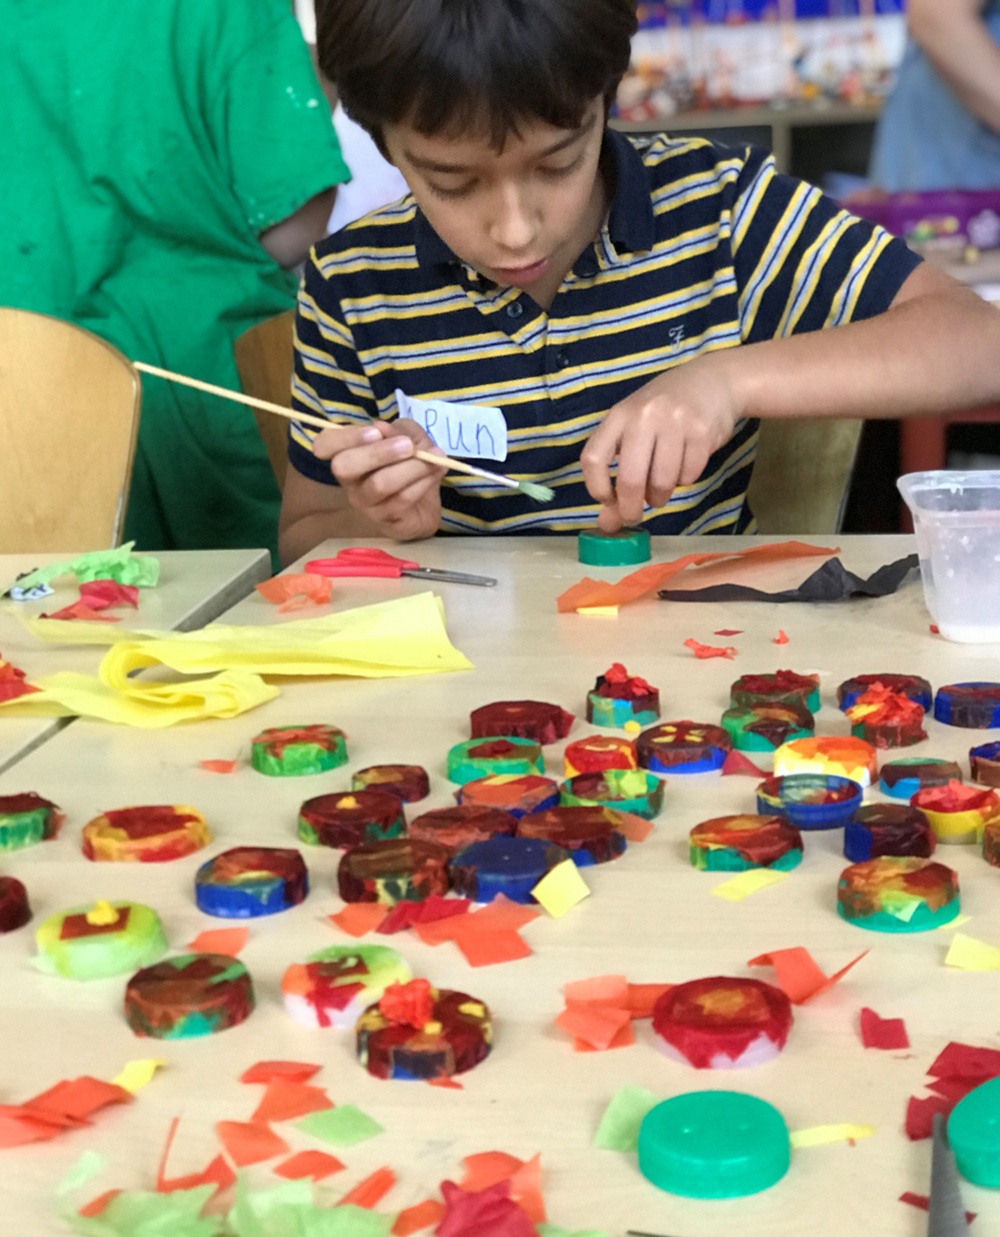
BUTTONS


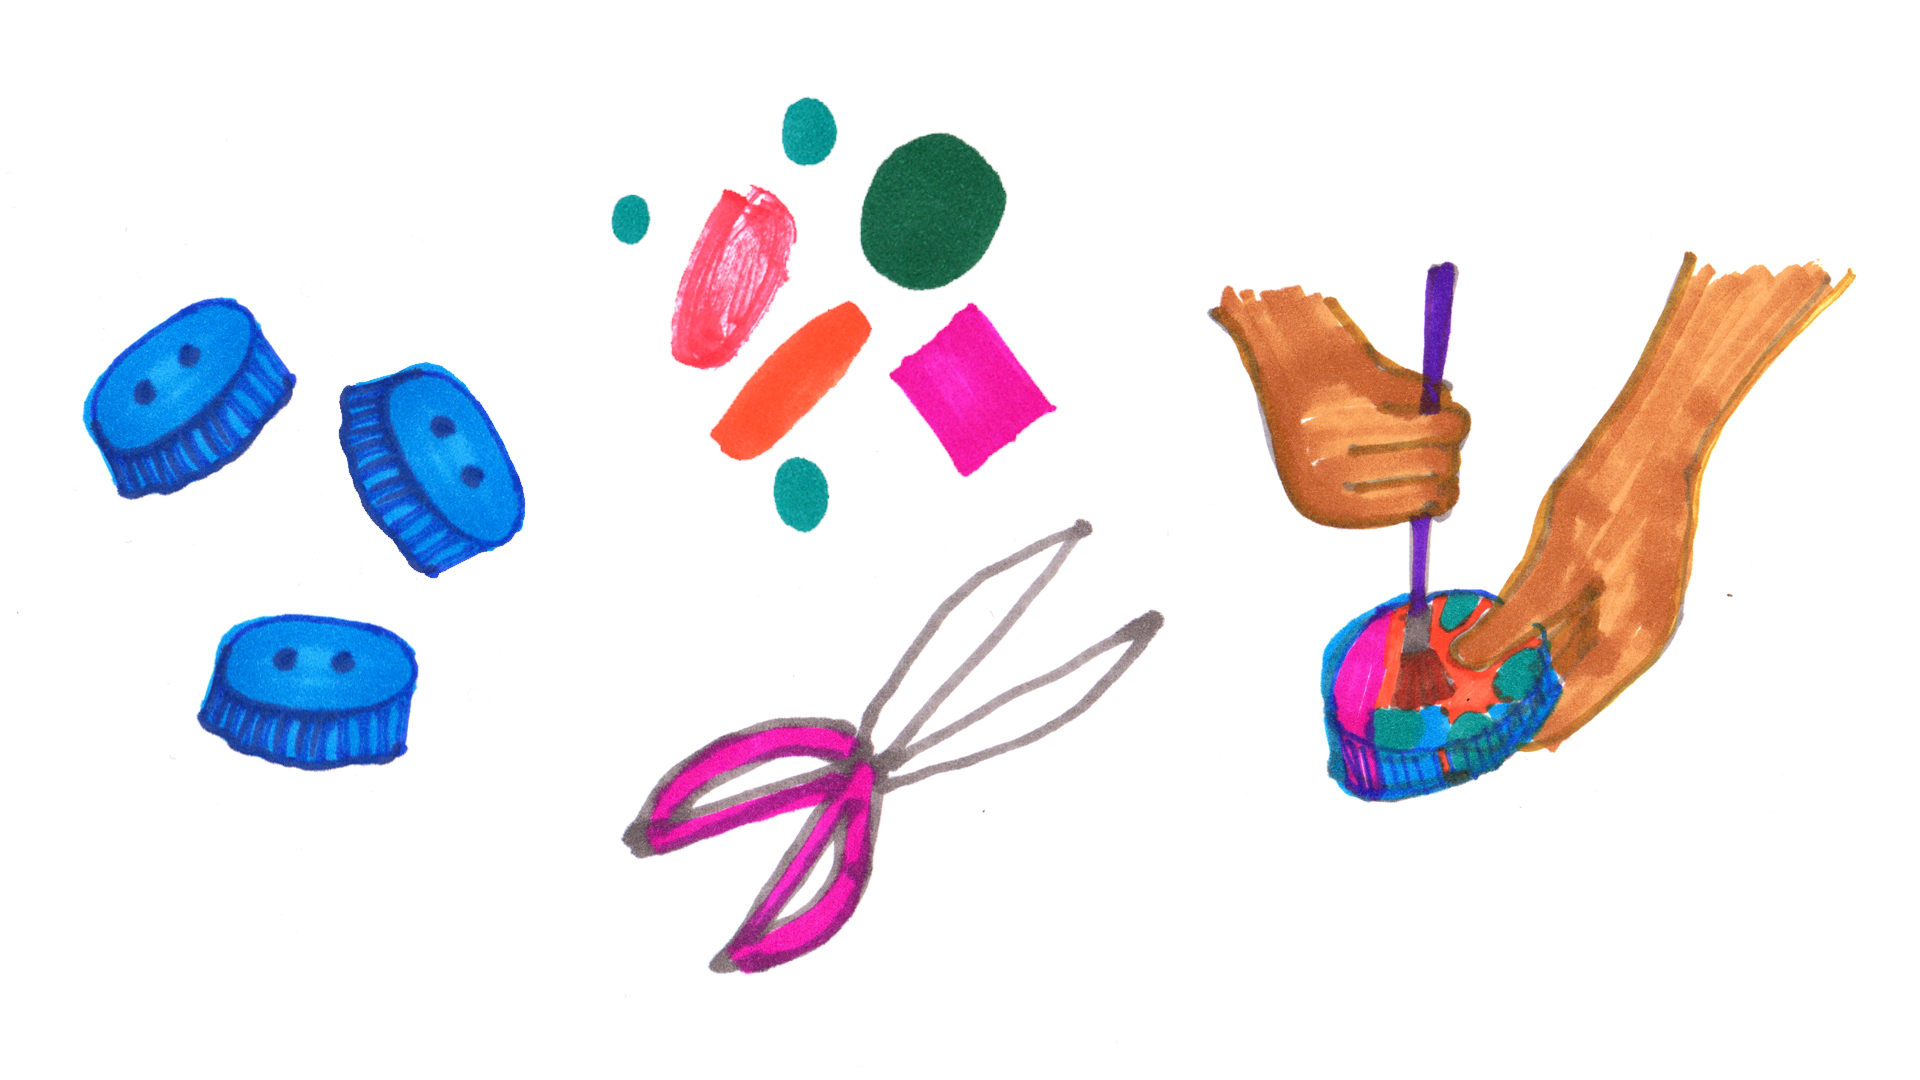
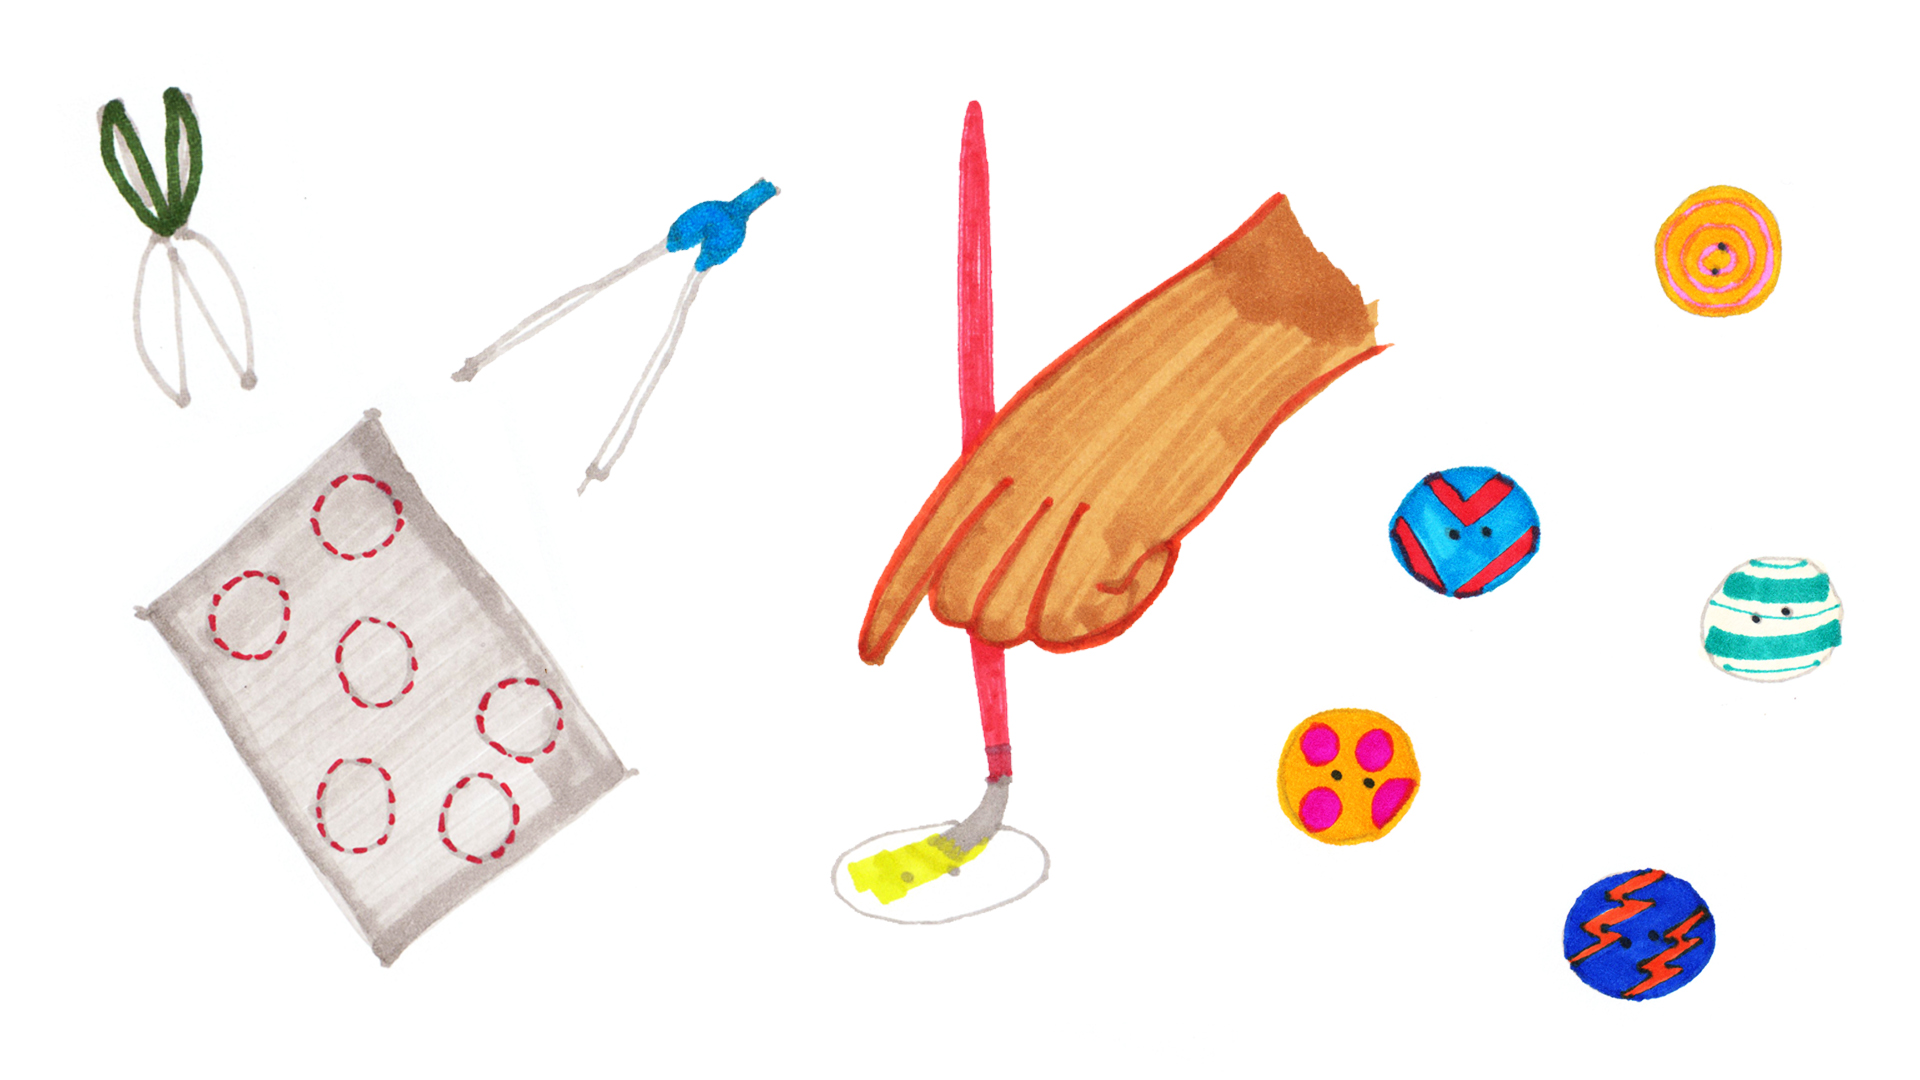
Learn how to make buttons out of items you have at home, using plastic bottles, cardboard and salt dough!


Download printable activity sheet here

The buttons found under the floorboards at Van Gogh house were made from different materials including brass and shell. Do you have a box of loose buttons at home? If so, spend some time putting them into groups of different materials.


Many modern buttons are made from plastic but you may also find some made from wood, metal, fabric and even shell. Why do you think these materials were chosen for making buttons? What properties do they need?


Why not have a go at making your own buttons using different materials?

Share your creations with us using

#vincentstreasures via instagram, twitter or facebook

Cloth Buttons

You will need:


  • Scrap material (not too thick – thinnish or stretchy material works well)

  • A small circular object to draw round

  • Some thin card

  • A largish button or a self-cover metal or plastic button (you can buy these online or in fabric shops singly or in packs)

  • Felt tip pen or soft pencil

  • Scissors

  • Needle & thread

Bottle Top Buttons

You will need:


  • Plastic bottle tops (Milk bottle tops work well)

  • PVA glue

  • Water pot

  • Fine or medium sized paint brush

  • Colourful tissue paper cut into small shapes

  • A compass or other tool to make small holes (with adult supervision)


Instructions:


  1. With an adult to help you, use a compass or other pointy tool to make two holes in the centre of your bottle tops. Milk bottle tops work well because the plastic is thin.

  2. Mix some PVA glue with water (1:3) in a pot and stir thoroughly with your paint brush.

  3. To decorate your button, firstly cover it with a thin layer of the glue/water mixture.

  4. Now, carefully place a tissue paper shape on top and, holding it in place, gently brush over the top of the paper with your brush.

Cardboard Buttons

You will need:


  • Thin cardboard packaging (cereal boxes work well).

  • Small, circular objects to use as stencils (e.g. glue stick, bottle tops).

  • Compass

  • Pencil

  • Watercolour paints

  • Thin brush

  • Water pot


Instructions:


  1. Firstly, cut out a flat piece of cardboard to work from. Now, using a glue stick lid or other circular object as a stencil, draw circles onto your cardboard with a pencil. Make sure that the circles are spaced apart so that there is room to cut them out.

  2. Cut out your circles and, with an adult helping you, make two equally spaced holes in the centre of each circle using the compass.

  3. Now it’s time for the creative part! Using your watercolour paints, decorate your buttons with bright colours and beautiful patterns.

  4. Once dry, they will be ready to sew onto fabric although they may be better for creating art with, rather than fastening your clothes!

Salt Dough Buttons

You will need:


  • 1 cupful of plain flour (about 250g)

  • Half a cupful of table salt (about 125g)

  • Half a cupful of water (about 125ml)

  • Rolling pin

  • Parchment paper

  • Glue stick top or bottle top for cutting circles (You could also use other objects or small cookie cutters for cutting different shapes)

  • A thin paint brush or stick

  • Tools and materials for mark making e.g. fork, cocktail sticks, fabrics with textures.

  • Poster paints


Instructions:


  1. Preheat the oven to it’s lowest setting and line a baking tray with parchment paper.

  2. Mix the flour and salt in a large bowl. Add the water and stir until it comes together into a ball.

  3. Transfer the dough to a floured work surface and use your rolling pin to roll out the dough evenly. It should be approximately 5mm thick.

  4. Press into your flat salt dough with your glue stick or bottle top and twist slightly to cut out circular shapes. You can also cut out other shapes using cookie cutters or with a knife, (but make sure that an adult supervises you!)

  5. Make two holes in the centre of each button using the end of a thin paint brush or a thin stick.

  6. Use your mark making tools to add pattern and texture to the surface of your buttons. Take care to press gently so as not to squash your button!

  7. Place your buttons on the lined baking sheet with space between each one. Bake on the middle shelf for 1 ½ hours, or until solid.

  8. Leave to cool and then paint. Poster paints work well.

For Families

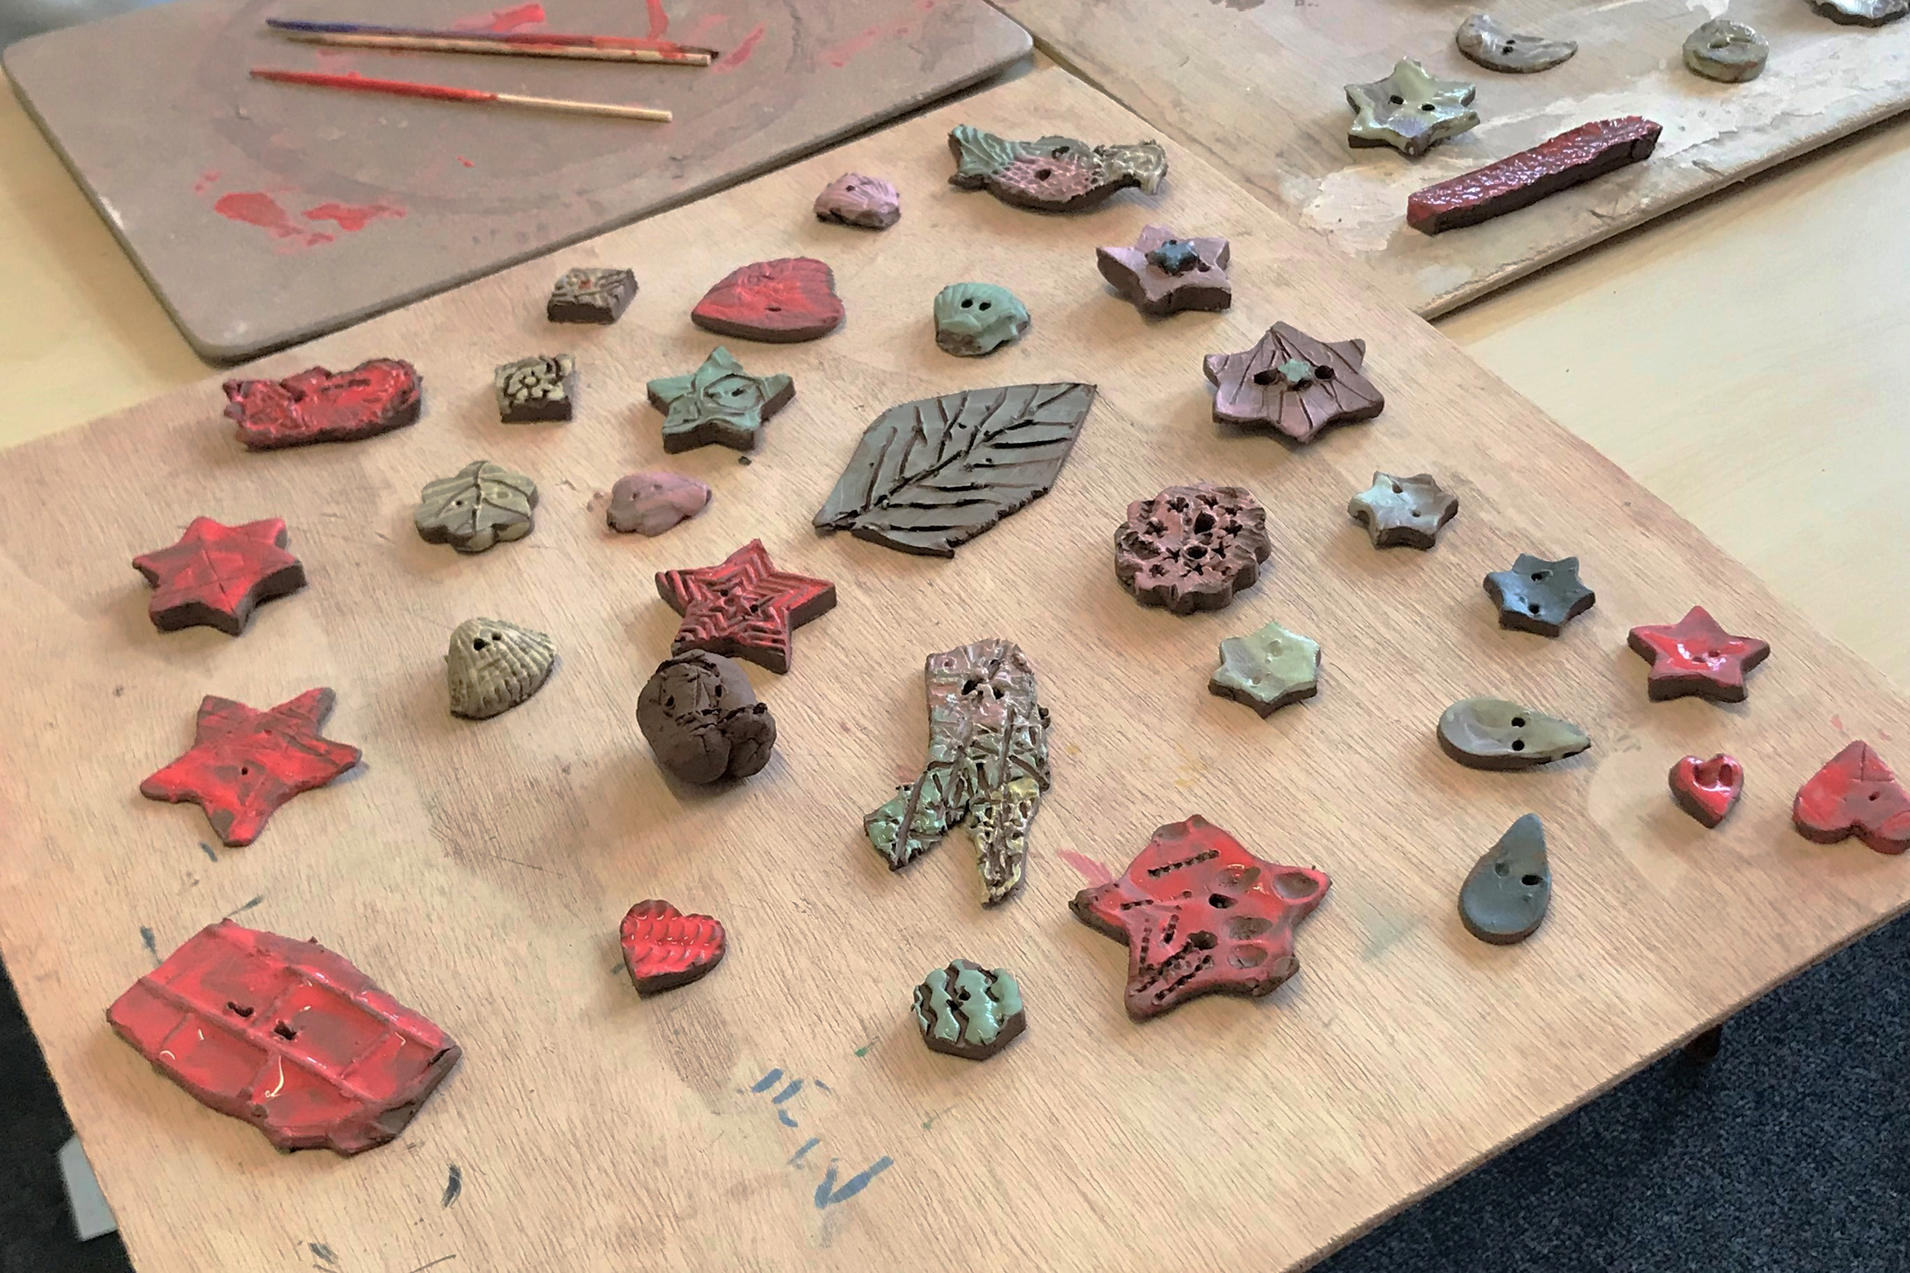
Have you made some buttons? What have you done with them? Did you sew them onto clothes or did you had a different idea? Send us a photo or any comments via our instagram, twitter or facebook using #vincentstreasures or via our email info@vangoghhouse.co.uk

For Teachers

Curriculum links: Art & Design, History (The Victorians, social history, local history), Science (materials, recycling).

Suitable for KS1 and KS2, with varying adult support!

Credits

Created by Lucy Hall,  Livia Wang and Janet Currier, with support from Oval Learning Cluster, The National Lottery Community Fund, Van Gogh House London and children and teachers from Reay Primary School.

© Van Gogh London 2021